

Introduction
Making homemade ice cream is an art that combines both precision and creativity. For those who own a Cuisinart ice cream maker, the process can be particularly rewarding. However, one of the most frequent questions among home ice cream enthusiasts is, “How long should I churn ice cream in my Cuisinart ice cream maker?” The answer to this question can vary based on several factors, including the type of ice cream you’re making, the ingredients used, and the specific texture you’re aiming for.
In this comprehensive guide, we’ll explore the intricacies of churning ice cream with a Cuisinart ice cream maker, providing you with expert tips, a detailed step-by-step process, and answers to common questions. By the end of this article, you’ll have all the knowledge you need to churn the perfect batch of ice cream every time.
Understanding the Ice Cream Churning Process
Churning is a critical step in the ice cream-making process. It serves two primary functions: freezing the mixture and incorporating air to create a light, smooth texture. The Cuisinart ice cream maker utilizes a rotating paddle to continuously stir the mixture while it freezes, preventing large ice crystals from forming. This results in a creamy and consistent final product.

The Science Behind Churning
When the ice cream base is churned, it’s simultaneously being cooled and aerated. The churning motion ensures that the freezing process occurs evenly, and the incorporation of air is what gives ice cream its characteristic lightness. Without churning, the mixture would freeze into a solid, dense block, rather than the scoopable treat we all love.
Factors That Influence Churning Time
There isn’t a universal churning time that applies to all ice cream recipes. Instead, several factors can influence how long you should churn your ice cream:
- Recipe and Ingredients:
- Fat Content: The fat content of your ice cream base, which comes from cream, milk, or egg yolks, plays a significant role in determining the final texture. A higher fat content generally results in a creamier ice cream, but it might require a longer churning time to achieve the perfect consistency.
- Sugar Content: Sugar lowers the freezing point of the ice cream mixture, which can affect the churning time. Recipes with higher sugar content may take longer to freeze but can yield a smoother texture.
- Inclusion of Stabilizers: Some recipes include stabilizers like gelatin, cornstarch, or guar gum, which can impact both the texture and churning time.
- Temperature Considerations:
- Pre-Chilling the Bowl: One of the most important steps in using a Cuisinart ice cream maker is pre-chilling the bowl. It’s recommended to freeze the bowl for at least 24 hours before churning. A well-chilled bowl accelerates the freezing process and helps achieve the desired consistency in less time.
- Starting Temperature of the Mixture: The temperature of your ice cream base before churning is crucial. If the mixture is already cold (preferably refrigerated for several hours), it will freeze more quickly during churning.
- Desired Consistency:
- Soft-Serve vs. Hard Ice Cream: The texture you’re aiming for also determines how long you should churn your ice cream. For soft-serve ice cream, a churning time of 15 to 20 minutes is typically sufficient. However, if you prefer a firmer texture, similar to what you’d find in store-bought ice cream, you may need to churn for 25 to 30 minutes, followed by additional freezing time.
Recommended Churning Times for Different Ice Cream Varieties
While the optimal churning time can vary based on the factors mentioned above, here are some general guidelines for different types of ice cream:
- Classic Vanilla Ice Cream: 20-25 minutes
- Rich Chocolate Ice Cream: 25-30 minutes
- Fruit-Based Sorbets: 20-25 minutes
- Gelato: 25-30 minutes
- Frozen Yogurt: 15-20 minutes
- Dairy-Free Ice Cream: 20-25 minutes
- Custard-Based Ice Cream: 25-30 minutes
Step-by-Step Guide to Churning Ice Cream in a Cuisinart Ice Cream Maker
To achieve the best results with your Cuisinart ice cream maker, follow this step-by-step guide:
1. Pre-Chill the Bowl
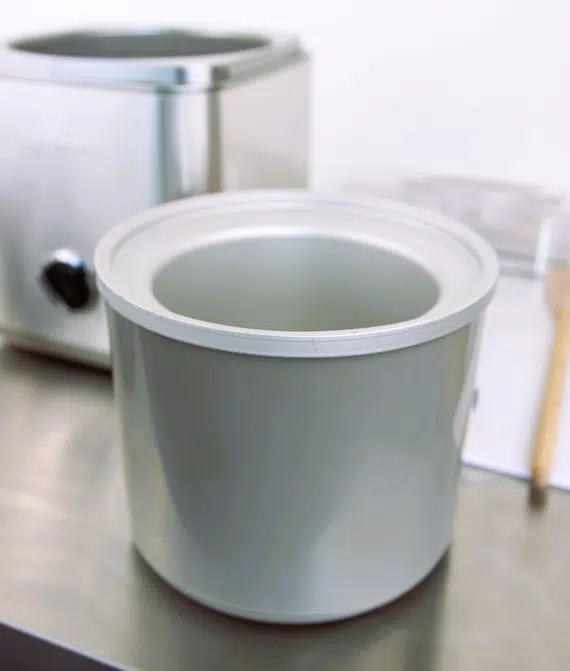

The first and most crucial step is to pre-chill the bowl of your Cuisinart ice cream maker. Place the bowl in your freezer, ensuring it is level. It’s best to freeze the bowl for a full 24 hours, though some users find success with shorter freezing times depending on their freezer’s settings. The bowl should be completely frozen to ensure the ice cream mixture freezes properly during churning.
2. Prepare the Ice Cream Mixture
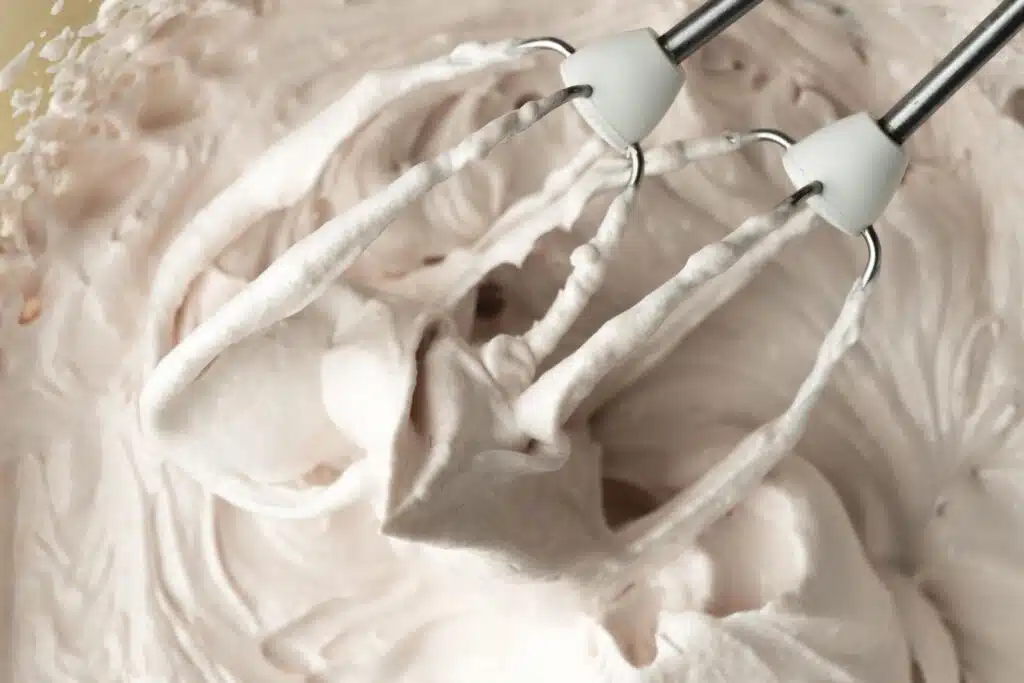

While your bowl is freezing, you can prepare your ice cream mixture. Depending on the recipe, this may involve heating ingredients to create a custard base or simply mixing cream, milk, sugar, and flavorings. Once your mixture is prepared, it’s important to chill it in the refrigerator for several hours before churning. A cold mixture will freeze more quickly and evenly, resulting in a smoother texture.
3. Set Up the Cuisinart Ice Cream Maker


Once your bowl is thoroughly chilled and your mixture is ready, set up your Cuisinart ice cream maker. Attach the paddle to the machine and place the frozen bowl in its designated spot. Pour the chilled ice cream mixture into the bowl.
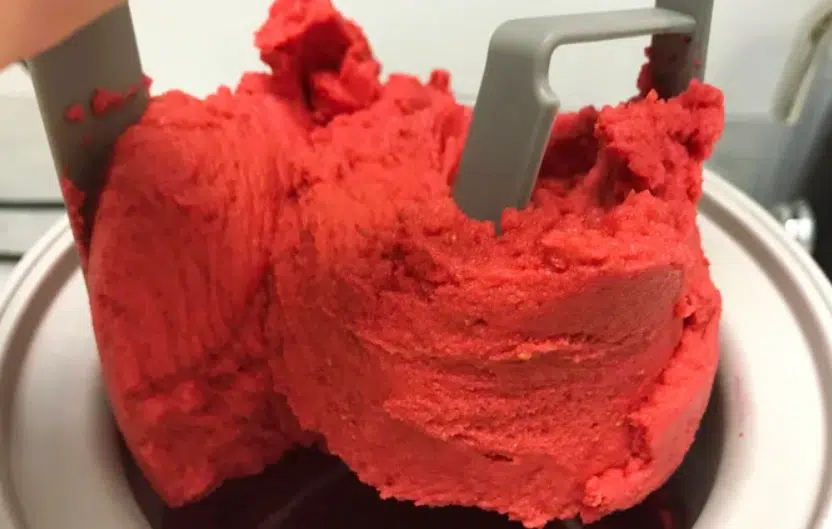
4. Churn the Ice Cream
Turn on the machine and start churning. It’s a good idea to monitor the mixture as it churns. You’ll notice that the mixture begins to thicken after about 10-15 minutes. Depending on the type of ice cream you’re making and the desired consistency, you should churn for 15-30 minutes. Soft-serve ice cream is typically ready after 15-20 minutes, while a firmer texture will require 25-30 minutes of churning.
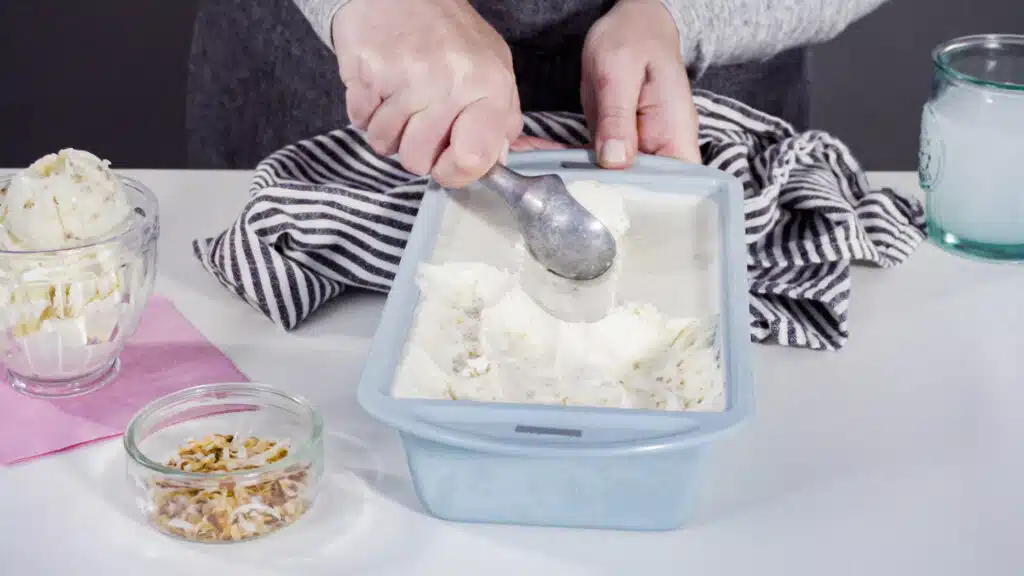
5. Transfer and Freeze


Once the desired consistency is achieved, turn off the machine and transfer the ice cream to an airtight container. If you prefer a soft-serve texture, you can enjoy the ice cream immediately. For a firmer texture, place the container in the freezer for 2-4 hours before serving. This additional freezing time allows the ice cream to fully set and achieve the classic scoopable consistency.
Common Mistakes to Avoid When Churning Ice Cream
Even with a reliable machine like the Cuisinart ice cream maker, it’s possible to encounter issues if certain steps are overlooked. Here are some common mistakes and how to avoid them:
Overfilling the Bowl
One of the most common mistakes is overfilling the bowl. The ice cream mixture will expand as it freezes, so it’s important to leave enough space for this expansion. Overfilling can result in the mixture overflowing or freezing unevenly, leading to a less desirable texture.
Not Pre-Chilling the Bowl Long Enough
Another frequent issue is not pre-chilling the bowl adequately. A bowl that isn’t fully frozen won’t be able to freeze the ice cream mixture effectively, resulting in a soupy or icy final product. To avoid this, ensure that your bowl is frozen solid before use, and always store it in the coldest part of your freezer.
Under-Churning
Stopping the machine too early can result in under-churned ice cream that hasn’t reached the proper consistency. This can lead to a texture that’s too soft and lacks the airiness needed for a creamy mouthfeel. To prevent this, churn the ice cream for the full recommended time, monitoring the texture as you go.
Over-Churning
While under-churning is a common issue, it’s also possible to over-churn your ice cream. Over-churning can cause the mixture to become too thick, making it difficult to scoop and enjoy. If you notice the ice cream becoming too dense, it’s best to stop the machine and transfer the mixture to the freezer to firm up.
Troubleshooting Common Churning Problems
If you encounter issues during the churning process, here are some troubleshooting tips:
Ice Cream is Too Soft
If your ice cream is too soft after churning, it could be due to under-churning, an overfilled bowl, or a bowl that wasn’t fully pre-chilled. To fix this, ensure that you’re churning for the full recommended time, the bowl is adequately frozen, and you’re not overfilling the bowl.
Ice Cream is Too Hard
If your ice cream is too hard and difficult to scoop, it may be due to over-churning or leaving it in the freezer for too long after churning. Allow the ice cream to soften at room temperature for a few minutes before serving. If it’s still too hard, try reducing the churning time slightly in future batches.
Ice Cream is Icy or Grainy
An icy or grainy texture can result from a mixture that wasn’t properly blended or had large ice crystals form during the freezing process. To avoid this, make sure your mixture is smooth and well-blended before churning, and ensure the bowl is fully frozen. You can also add a small amount of alcohol, such as vodka, to the mixture to help prevent large ice crystals from forming.

FAQs About Churning Ice Cream in a Cuisinart
Soft-serve ice cream: 15-20 minutes
Firm ice cream: 25-30 minutes
Sorbet: 20-25 minutes
Gelato: 25-30 minutes
Frozen yogurt: 15-20 minutes
Yes, dairy-free ice cream is easy to make with a Cuisinart machine. Substitute dairy milk with alternatives like almond milk, coconut milk, or oat milk.
Your ice cream is done churning when it reaches a thick, soft-serve consistency. For a firmer texture, you can transfer it to the freezer for additional setting.
Quick melting can be due to insufficient churning time or not freezing the bowl long enough. Ensure that you’re following the recommended steps for churning and bowl preparation.
Store homemade ice cream in an airtight container in the freezer. Press a piece of wax paper or plastic wrap directly onto the surface of the ice cream to prevent ice crystals from forming.
Yes, you can add mix-ins during the last 5 minutes of churning to ensure they are evenly distributed throughout the ice cream.
Allow the bowl to thaw completely before washing it with warm soapy water. Avoid submerging it in water to protect the freezing liquid inside. The paddle and lid can be cleaned in the dishwasher.
Expert Tips for Perfect Ice Cream Every Time
Experiment with Flavors
Don’t hesitate to get creative with your ice cream flavors. Add fresh fruits, nuts, or even a swirl of caramel or chocolate sauce to personalize your homemade ice cream. The possibilities are endless, and experimenting with different ingredients can lead to exciting new flavors.
Monitor the Texture
As your ice cream churns, keep an eye on the texture. The mixture should thicken gradually, reaching a soft-serve consistency by the end of the churning process. If you notice the ice cream getting too thick, it’s time to stop the machine and transfer the ice cream to a container.
Use High-Quality Ingredients
The quality of your ingredients directly impacts the final product. Whenever possible, use fresh, high-quality cream, milk, and flavorings. This will enhance the flavor and texture of your ice cream, making it truly stand out.
Relevant Links
For more tips and recipes, check out these resources:
- Serious Eats Guide to Homemade Ice Cream
- AllRecipes Guide to Ice Cream Making
- Cuisinart Official Ice Cream Maker Recipes
Conclusion
Churning ice cream in a Cuisinart ice cream maker is a straightforward process, but understanding the factors that influence churning time can make a big difference in your results. By considering the recipe, ingredients, temperature, and desired consistency, you can create homemade ice cream that’s every bit as good as what you’d find in a professional ice cream parlor. Follow the steps, tips, and troubleshooting advice provided in this guide, and you’ll be well on your way to mastering the art of homemade ice cream.