

Key Highlights
- Frozen grapes are a simple, refreshing, and healthy treat, perfect as a summer snack.
- Making them is easy: wash, dry, and place grapes in the freezer overnight.
- This low-calorie snack can help with weight loss by satisfying sugar cravings.
- Frozen grapes are rich in antioxidants, which can help reduce inflammation.
- You can use red, green, or black grapes for this easy recipe.
- Store them in a freezer bag or airtight container for a quick grab-and-go option.
How Do You Make Frozen Grapes ?
Making this refreshing snack is incredibly simple and requires very little effort. The first step is to wash your fresh grapes thoroughly under cold water. This helps remove any surface dirt or pesticides. Once they are clean, gently pull the seedless grapes from their stems, making sure to discard any that are broken or mushy. The key to perfectly frozen grapes is ensuring they are completely dry before you put them in the freezer.
After drying the grapes, place them in a single layer on a baking sheet or directly into a freezer bag. Spreading them out prevents them from clumping together into a large frozen block. Freeze them for at least eight hours, or overnight, for the best texture. For a tangy twist, some people toss the grapes in a bit of lemon juice or even a sugar-free Jell-O packet before freezing to create sour frozen grapes at home.
Ingredients
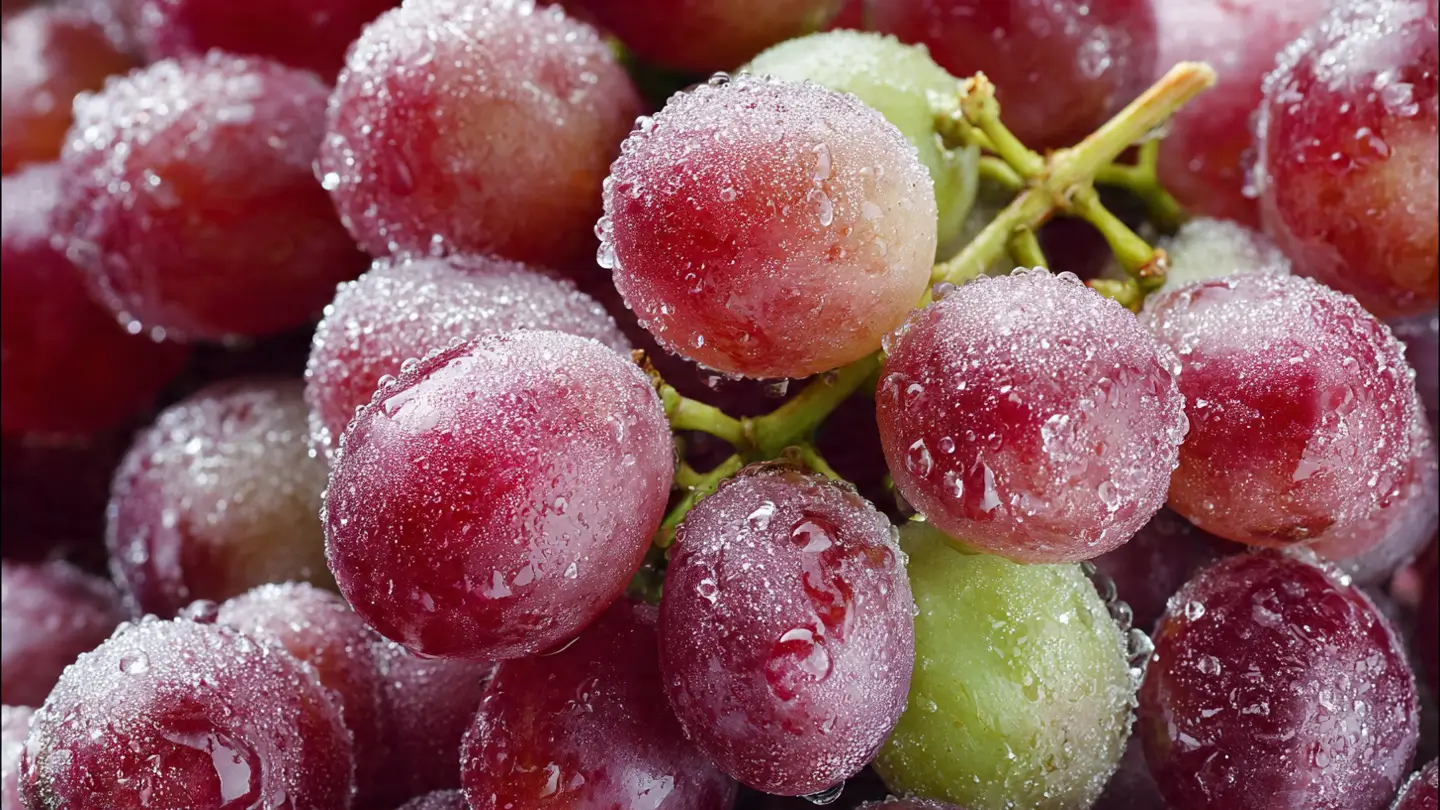
The beauty of this recipe lies in its simplicity. The only ingredient you truly need is fresh grapes. You can use any type you prefer, whether they are red grapes, green grapes, or black grapes. Each variety offers a slightly different level of sweetness and flavor, so feel free to experiment to find your favorite. Green grapes tend to be a bit tarter, while red and black grapes are often sweeter. Using seedless varieties is recommended for the best snacking experience.
Before you begin, you will also need a colander to rinse the grapes under cold water. This step is important because grapes are often on the “Dirty Dozen” list, meaning they can have higher concentrations of pesticides. A good wash ensures your snack is as clean and healthy as possible. Nutritionally, frozen grapes are nearly identical to fresh ones, retaining their vitamins and minerals, so you are not losing health benefits by freezing them.
Preparation
The preparation for frozen grapes is straightforward and takes only a few minutes. Start by placing your clean, stemmed grapes in a colander and rinsing them well. After washing, pat them dry with a paper towel or let them air dry completely. This step is crucial to prevent ice crystals from forming and making the grapes stick together.
Next, spread the dry grapes in a single layer on a baking sheet lined with parchment paper. This ensures they freeze individually, making them easy to grab for a quick snack. Place the baking sheet in the freezer for at least eight hours or until the grapes are firm. Once frozen, you can transfer them to an airtight container or a freezer bag for long-term storage. Frozen grapes can last for up to six months in the freezer, giving you a ready supply of healthy treats.
Recipe notes
This simple recipe is highly rated for a reason; it’s a perfect snack for a hot day. While delicious on their own, you can get creative with variations. Some people enjoy adding them to drinks to chill wine without watering it down. You can also explore other frozen fruit recipes using pineapple or watermelon for a different kind of summer snack.
For those who follow a vegan diet, this is an excellent treat. Unlike many desserts, it’s naturally free of animal products. It’s a great alternative to high-calorie options, and you can find many positive reviews and a high star rating for this easy snack online.
Nutrition
Frozen grapes are a fantastic low-calorie snack. A one-cup serving contains about 104 calories and is virtually fat-free. They are a good source of natural sugars for a quick energy boost, making them a healthier choice than processed sweets. Grapes also provide essential nutrients like potassium and antioxidants.
The antioxidants found in grapes, such as resveratrol, are known to help reduce inflammation and support heart health. In terms of macronutrients, they are primarily composed of carbs, with a small amount of protein and fiber. Freezing does not significantly change the nutritional profile, so you get the same benefits as you would from fresh grapes.
Here is a simple breakdown of the nutrition in a cup of grapes:
| Nutrient | Amount |
|---|---|
| Calories | 104 |
| Carbs | 27 grams |
| Protein | 0.9 grams |
| Potassium | 285 mg |
| Fiber | 1.3 grams |
Grab-and-Go Frozen Grapes
One of the great benefits of frozen grapes is how convenient they are. Once you have a batch prepared and stored in an airtight container in your freezer, you have an instant grab-and-go snack. They are perfect for satisfying sweet cravings without turning to candy or other high-sugar treats, which is especially helpful if you are focusing on weight loss. Their texture is similar to a mini popsicle, making them a fun and refreshing option.
While you can sometimes find frozen fruit at the store, making frozen grapes yourself is easy and more cost-effective. Plus, you control the quality of the grapes. The freezing process intensifies their sweetness, so they don’t lose their flavor; in fact, many people find they taste even sweeter when frozen. You can even track your snack using a nutrition app to stay on top of your health goals. While some recipes add caramel or chocolate, they are delicious and healthy just as they are.

Ingredients
- 2 –3 cups fresh seedless grapes red, green, or black, or a mix
- Optional twist:
- 1 –2 tsp lemon juice for a tangy kick
- ½ –1 packet sugar‑free fruit drink mix for sour “freezer‑pop” style grapes
Instructions
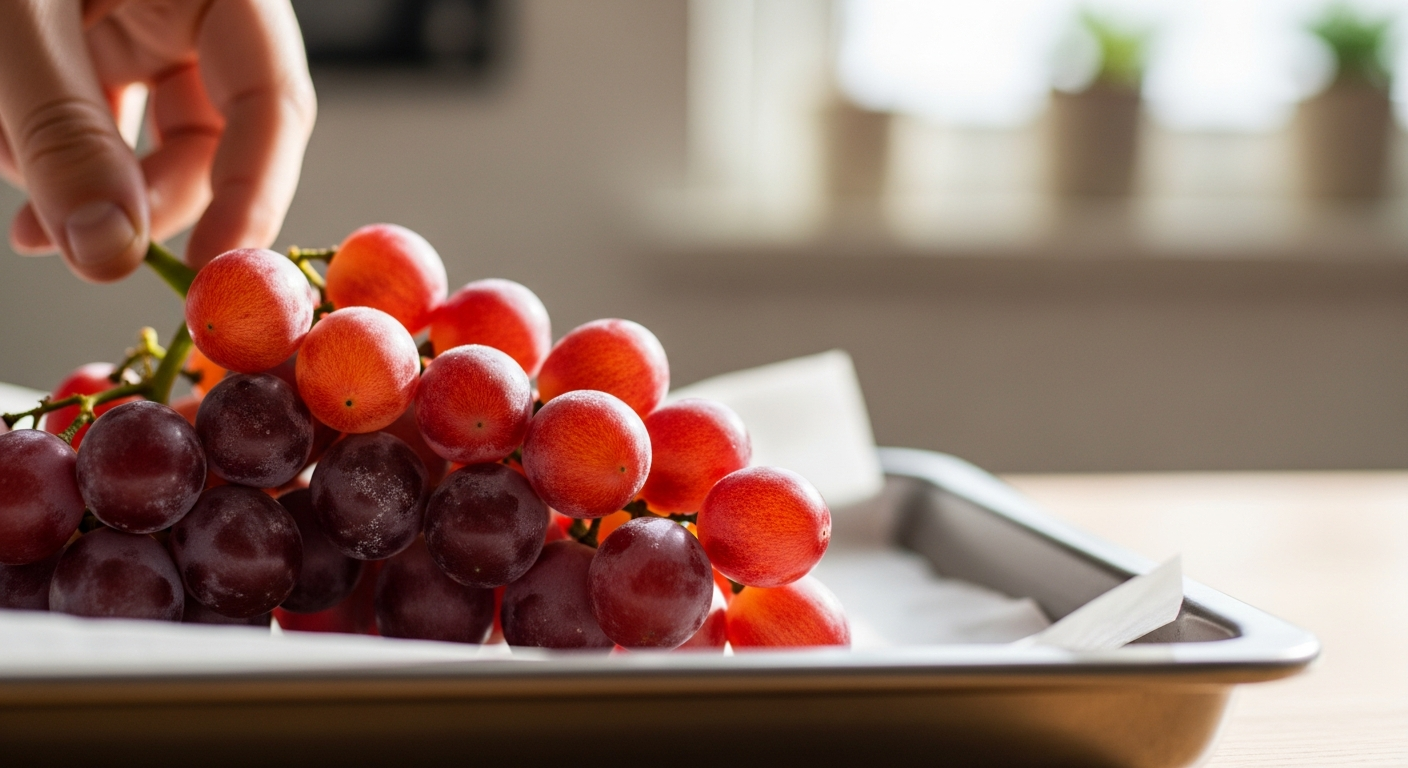
- Wash and de‑stem. Place the grapes in a colander. Rinse under cold running water, gently rubbing them to remove residue or dust. Discard any damaged, mushy, or broken grapes. Pull grapes off the stems.
- Dry thoroughly. Spread the grapes on a clean kitchen towel or paper towels and pat very dry. If possible, let them air‑dry 5–10 minutes. This step is key — dry grapes freeze individually and stay loose instead of clumping into a solid icy mass.
- Optional seasoning. For sour or flavored frozen grapes, toss the dried grapes in a bowl with lemon juice or a sugar‑free Jell‑O–style mix until lightly coated (about 1–2 teaspoons or ½–1 packet total). Do not overcoat.
- Freeze in a single layer. Line a baking sheet with parchment paper. Spread the grapes in a single layer, not touching. If you don’t mind them clumping, you can also distribute them directly in a freezer bag at this step.
- Flash‑freeze. Place the baking sheet in the freezer for at least 8 hours, or preferably overnight, until the grapes are completely firm and icy.
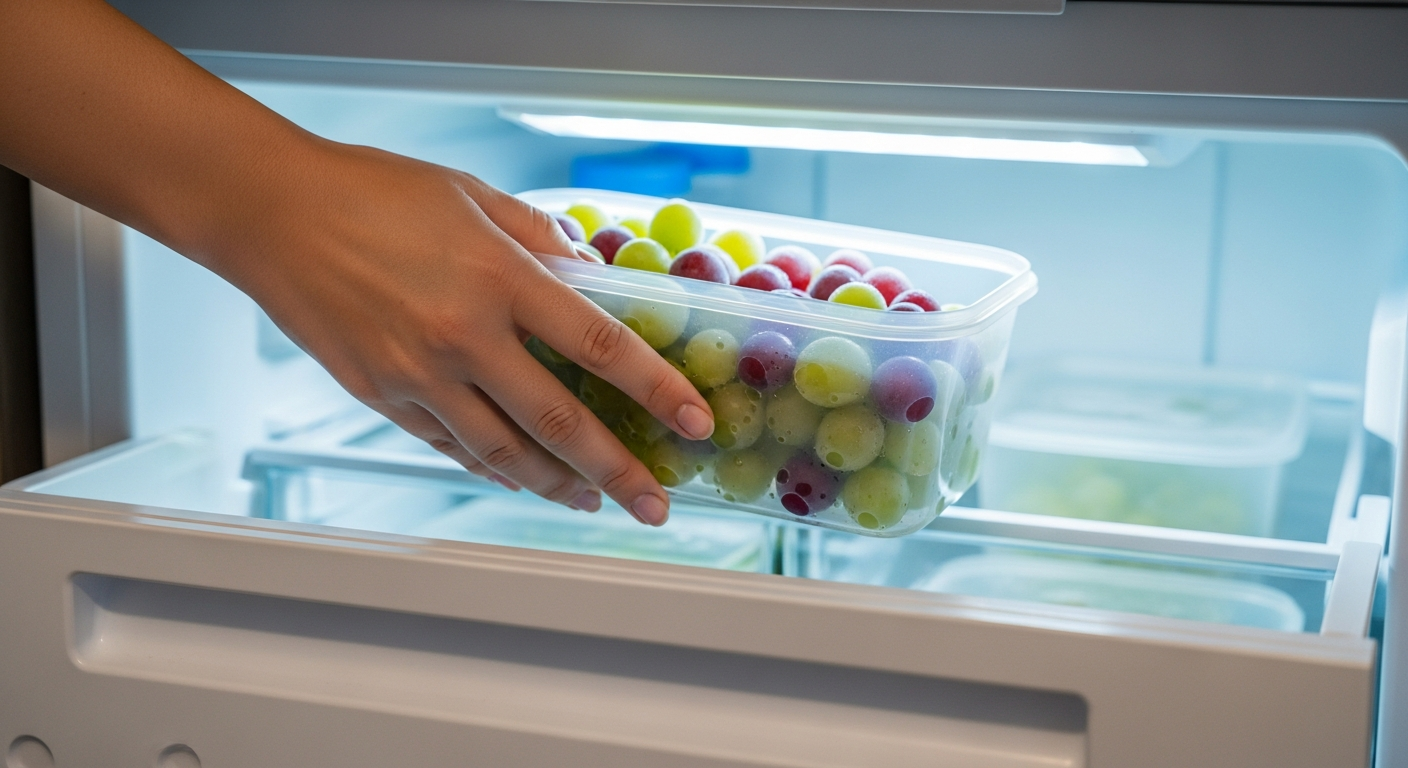
- Transfer for storage. Once frozen, slide them into an airtight container or freezer bag, pressing out excess air. Label with the date and freeze label. Shake gently to separate any grapes that have lightly stuck together.
- Serve. Eat straight from the freezer for a “mini popsicle” texture, or let sit at room temperature 5–10 minutes if you prefer slightly softer grapes. They’re also great dropped into water, sparkling water, or wine for a naturally sweet ice cube.
Notes
Freezer (recommended): Store in an airtight container or heavy‑duty freezer bag at 0°F (–18°C) up to 6 months. The longer they sit, the more they may pick up freezer odors, so keep them away from strong‑smelling foods. Thawed grapes: If grapes thaw out, they’re still safe to eat, though softer in texture — great for smoothies or purees rather than as a crunchy snack. Do not refreeze repeatedly — refreezing thawed grapes repeatedly increases texture loss and can encourage freezer burn.
Nutrition

Yes, grapes are safe to eat after being frozen and thawed. Freezing preserves their nutritional value and flavor, making them a healthy summer treat. However, the texture may change slightly upon thawing, becoming softer. Enjoy them in smoothies or as a refreshing snack on hot days!