
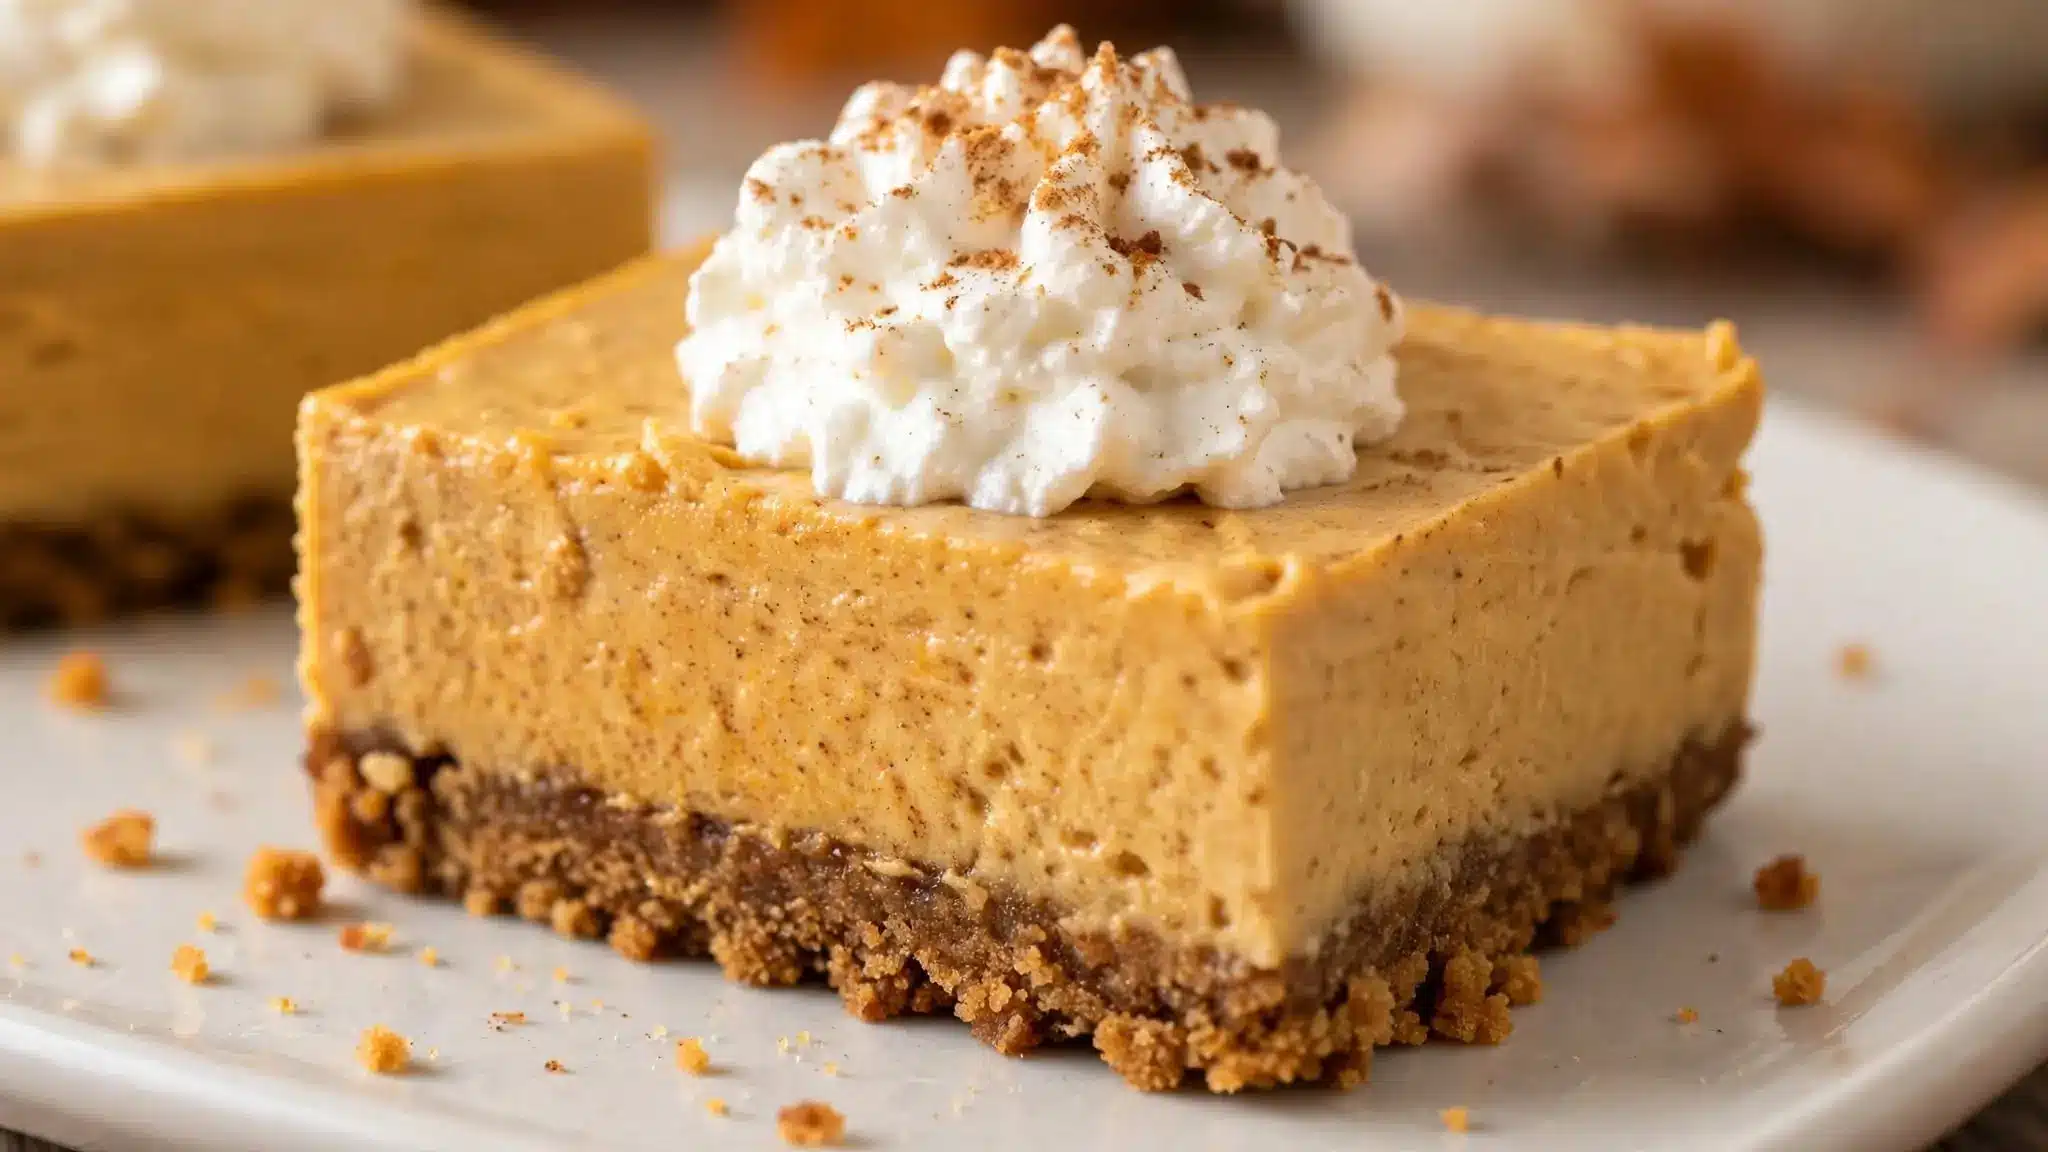

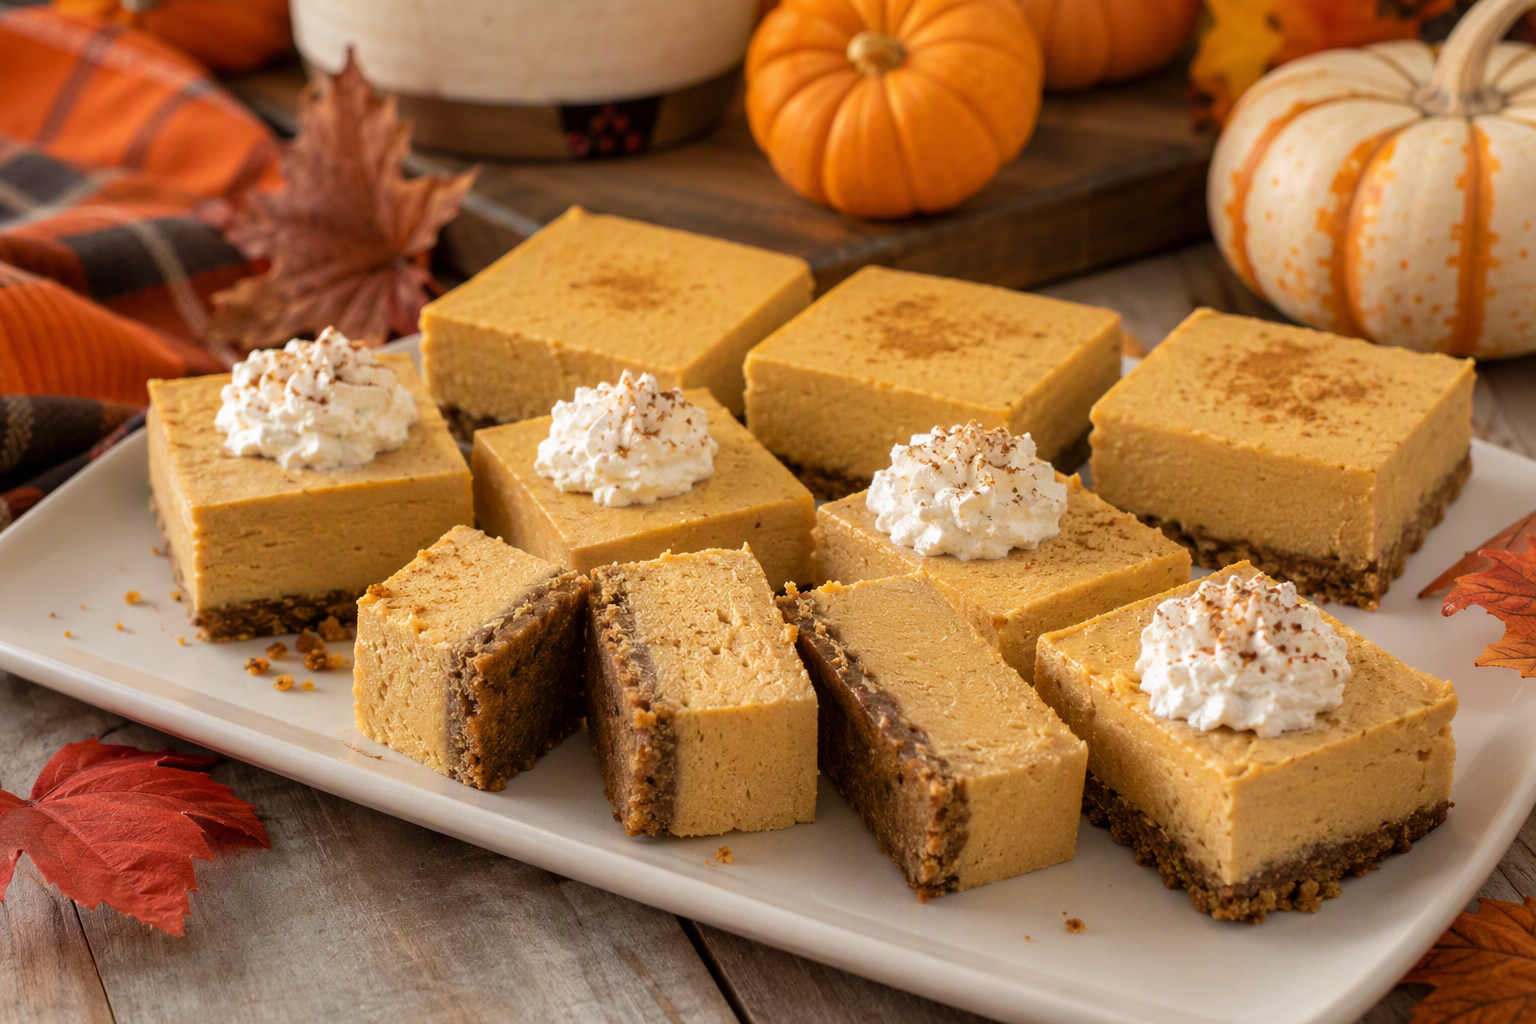
Key Highlights
- These pumpkin cheesecake bars skip the oven, so you can make a pumpkin dessert without the stress of bake pumpkin cheesecake timing.
- The cheesecake filling uses cream cheese, pumpkin puree, vanilla extract, pumpkin pie spice, and whipped cream for a light texture.
- A graham cracker crust or gingersnap base comes together with graham cracker crumbs, melted butter, and brown sugar.
- Line your baking pan with parchment paper and press crumbs with the bottom of a measuring cup.
- An offset spatula and rubber spatula help smooth the prepared pan neatly.
- This cheesecake recipe needs chilling time, not baking, and pumpkin pie filling should not replace pure pumpkin puree.
What Makes No-Bake Pumpkin Cheesecake Bars So Simple and Delicious
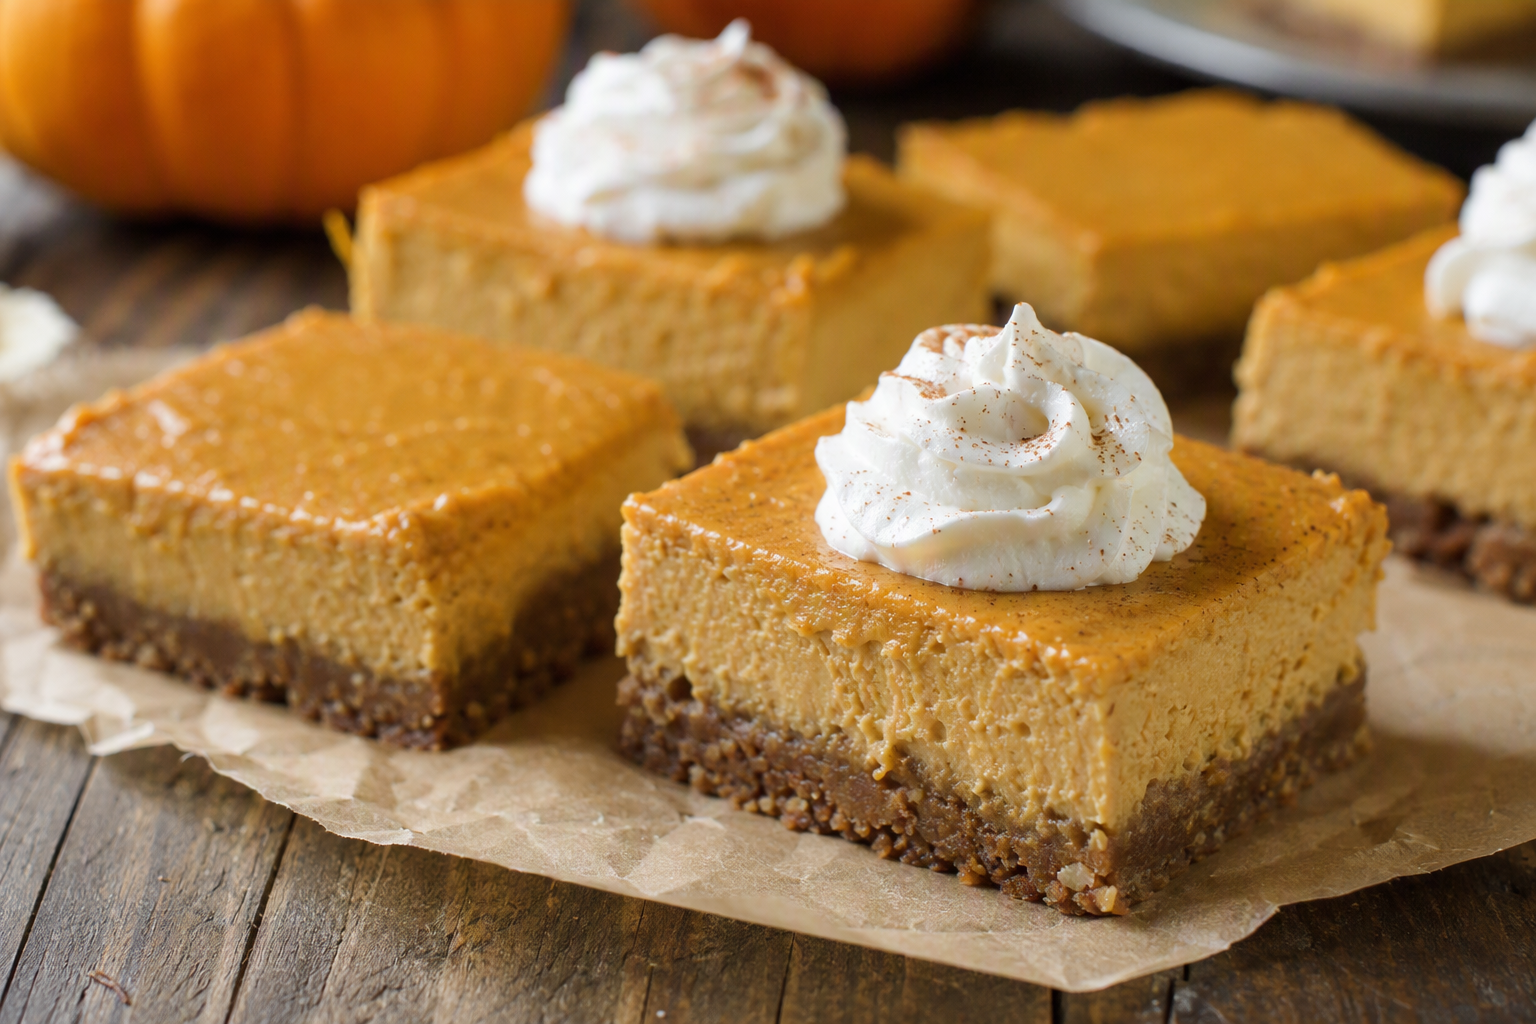
You can make bake pumpkin cheesecake bars at home with a simple crust, a creamy pumpkin cheesecake center, and enough chill time. There is no oven work here, which makes this recipe card especially helpful during busy holidays. In a mixing bowl, the base starts with crumbs, brown sugar, and melted unsalted butter, then goes into a baking pan.
For the cheesecake filling, beat room temperature cream cheese with pumpkin puree, vanilla extract, and pumpkin pie spice, then fold in whipped cream made from heavy cream. Spread with an offset spatula and chill. The next sections break down why this method works so well.
Why Choose No-Bake Over Baked Pumpkin Cheesecake Bars
No-bake pumpkin cheesecake bars are a smart choice when your oven is already full. If you usually bake cheesecake or prepare pumpkin pie for a holiday meal, this option frees up space and cuts down on last-minute work. That alone can make a big difference on Thanksgiving or Christmas.
Another reason is ease. You line the baking pan with parchment paper, press in the crust, and mix the pumpkin cheesecake filling with an electric mixer. The cream cheese turns smooth at medium speed, then the filling chills instead of baking. You do not have to watch for cracks or wait for a cooled cheesecake to settle.
Texture also matters. These cheesecake bars stay light because whipped cream helps support the filling. That gives you a creamy pumpkin dessert with a soft bite and a crisp gingersnap crust or other base at the bottom of the pan. Just remember: use pumpkin puree, not pumpkin pie filling.
When to Serve: Best Occasions for Pumpkin Cheesecake Bars
These pumpkin cheesecake bars fit almost any fall table. They give you the flavor people expect from pumpkin pie, but in neat, sliceable bars. Since this cheesecake recipe is made ahead, you can focus on the rest of the meal instead of trying to bake pumpkin cheesecake at the last minute.
They work especially well for gatherings where you want a reliable fall dessert that travels easily from refrigerator to table. Add whipped cream before serving, or keep the topping simple if you want the pumpkin spice filling to stand out.
- Thanksgiving dinner, when oven space is tight
- Friendsgiving, because pumpkin bars can be made a day ahead
- Halloween parties, school events, or casual family weekends
Must-Have Ingredients for No-Bake Pumpkin Cheesecake Bars
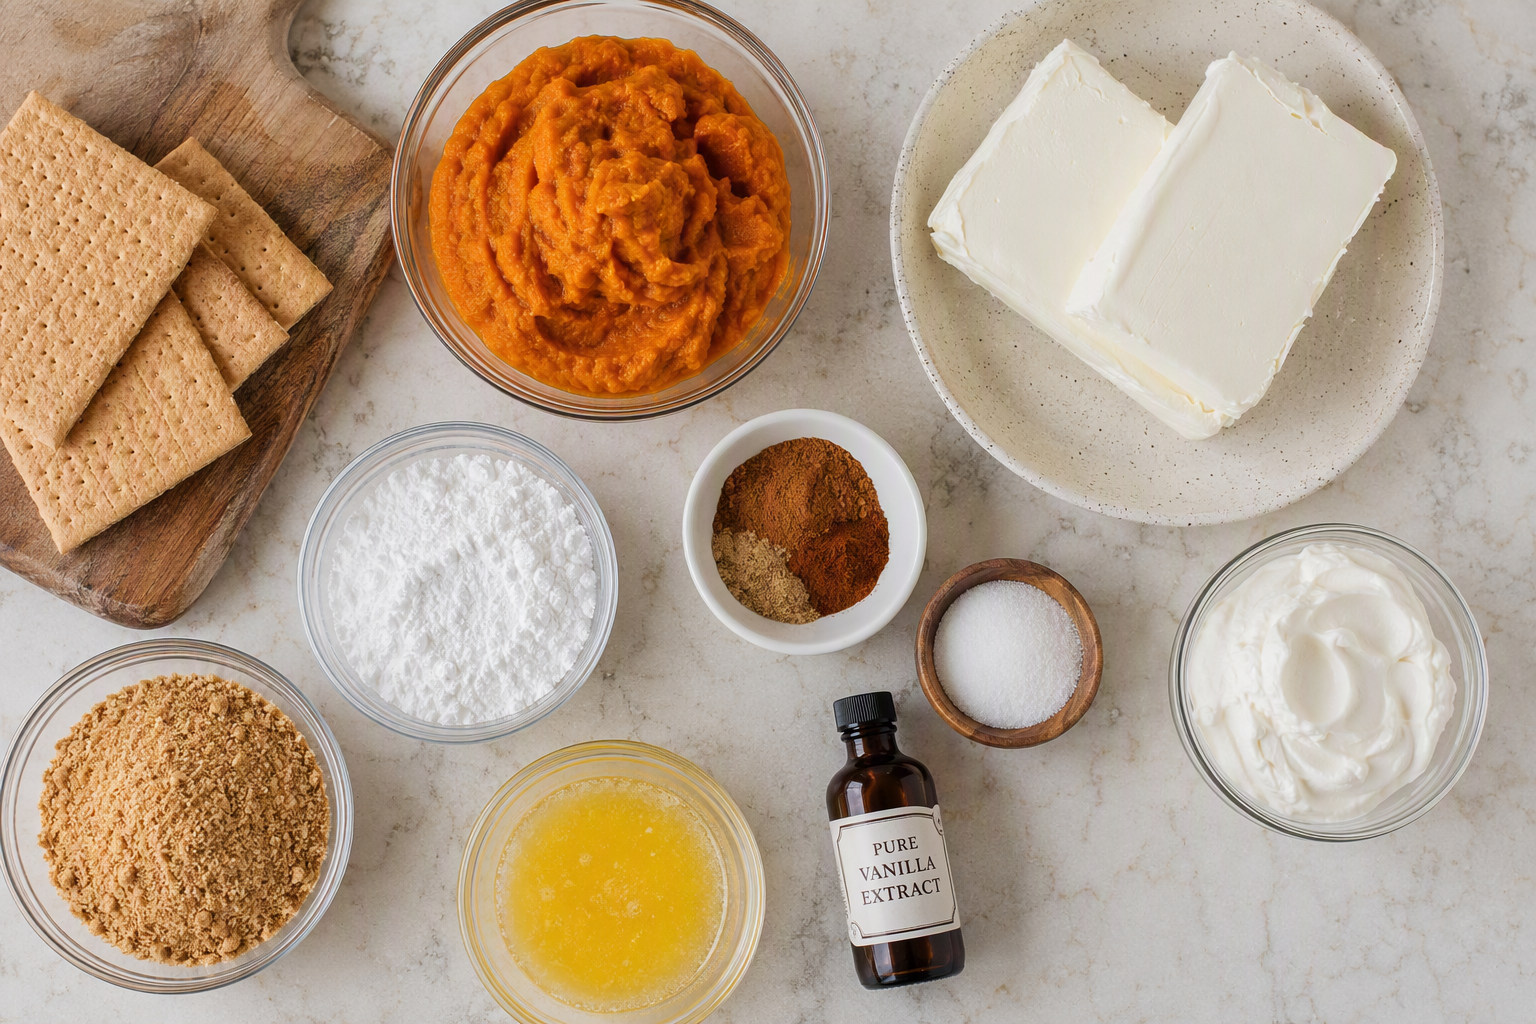
The key ingredients are simple: full fat cream cheese, pumpkin puree, heavy cream, vanilla extract, pumpkin pie spice, confectioner’s sugar, and a crust made with crumbs, brown sugar, and melted butter. A graham cracker crust works well, though gingersnaps are also used in the recipe card version.
Use room temperature cream cheese for a smooth filling, and whip the heavy cream in a medium bowl until stiff peaks form. You will also need a lined baking pan, a mixing bowl, and something like the bottom of a measuring cup to press the crust. Next, let’s look at pumpkin choices and dairy details.
Pumpkin Puree Choices: Canned vs. Fresh
For pumpkin cheesecake bars, canned pumpkin puree is the easiest option because it is consistent and ready to use. The recipe card stresses one rule: do not use pumpkin pie filling. That product already includes sugar and spices, which can throw off the flavor and texture of your cheesecake bars.
Fresh pumpkin can work, but only if it is smooth and not watery. If it seems loose, strain it first. That matters in no-bake recipes because extra moisture can affect how well the filling sets in the mixing bowl and later in the pan.
| Option | What to Know |
|---|---|
| Canned pumpkin puree | Best for consistent texture and easy prep in pumpkin bars |
| Fresh pumpkin puree | Can be used if smooth; strain if watery |
| Pumpkin pie filling | Not recommended for pumpkin cheesecake bars |
Tips on Selecting Cream Cheese and Dairy for Creaminess
Creaminess starts with the right dairy. Use full fat, brick-style cream cheese and let it come to room temperature before mixing. That helps the cream cheese mixture turn smooth without lumps, which is important for clean, rich pumpkin cheesecake bars.
Heavy cream matters just as much. It needs to be cold so it whips properly in a medium bowl. Once it reaches whipped cream stage, fold it in gently with a rubber spatula so the cheesecake filling stays airy and stable without gelatin.
- Choose full fat cream cheese for structure and a better set
- Use cold heavy cream so it whips well
- Fold carefully to keep volume in the cream cheese mixture
- Add topping later if you want, whether homemade whipped cream or cool whip
Creating the Perfect No-Bake Crust
Yes, you can use a graham cracker crust or a gingersnap base for pumpkin cheesecake bars. Both pair well with pumpkin pie flavor. The crumbs are mixed with melted butter and sugar until they feel like wet sand, then pressed into the baking pan.
Line the pan with parchment paper so the bars lift out easily. A food processor helps if you are starting with whole cookies, and the bottom of a measuring cup helps compact the crust into an even layer across the bottom of the pan. Here’s how to choose the right crust and press it well.
Graham Cracker, Gingersnap, or Gluten-Free Options
A graham cracker crust gives these cheesecake bars a buttery, familiar base. If you want more spice, a gingersnap crust is a great match with pumpkin pie spice. Both options are supported by the recipe details, so you can choose based on the flavor you prefer.
If you need a gluten-free version, use gluten-free cookies in the crust. One of the shared recipe results noted success with gluten-free gingersnaps, which makes this an easy swap for pumpkin cheesecake bars. The method stays the same in the prepared pan.
- Graham cracker for a classic, mellow crust
- Gingersnap crust for more warmth and spice
- Gluten-free cookies for a gluten-free option
- Use a food processor if crushing whole cookies
How to Make and Press the Crust for Best Texture
Start by crushing graham cracker crumbs or other cookies until fine. A food processor is the easiest tool if you are not buying ready-made crumbs. Mix them with melted butter and sugar until the mixture looks like wet sand. That texture helps the crust hold together.
Next, line your baking pan with parchment paper, with extra hanging over the sides. Add the crumbs and press them into the bottom of the pan. Use the bottom of a measuring cup to compact everything well, so the base stays firm once sliced.
- Press firmly for a tighter, cleaner crust
- Aim for an even layer across the whole pan
- Chill the crust before adding filling
An offset spatula can help level edges if needed. This same process works for graham cracker, gingersnap, or gluten-free crusts.
Step-by-Step: Making the Pumpkin Cheesecake Filling
To make pumpkin cheesecake filling without gelatin, whip cold heavy cream until stiff peaks form, then set it aside. In another mixing bowl, beat room temperature cream cheese until smooth. Add pumpkin puree, vanilla extract, confectioner’s sugar, and pumpkin pie spice, then mix until creamy.
After that, gently fold the whipped cream into the cream cheese mixture with a rubber spatula. This step gives the cheesecake filling structure without gelatin or cool whip. Spread it over the crust and chill well. The next two sections cover flavor balance and how the filling sets.
Blending Flavors: Pumpkin, Spices, and Sweeteners
Good pumpkin cheesecake filling tastes balanced, not overly sweet or overly spiced. The base starts with cream cheese and pumpkin puree, which create body and that familiar fall flavor. Vanilla extract rounds everything out and helps the filling taste fuller.
Spices matter here. The recipe card uses pumpkin pie spice and extra cinnamon, while another version lists cinnamon, nutmeg, cloves, and ginger separately. Either way, the goal is the same: a warm pumpkin spice flavor that feels classic and easy to enjoy.
Sweetener also shapes the final result. Confectioner’s sugar is the main choice because it blends smoothly into the cream cheese mixture in the mixing bowl. Some crust versions also use brown sugar, which adds a deeper note under the pumpkin bars without changing the creamy cheesecake filling itself.
Achieving a Smooth, Set Filling Without Gelatin
You can make pumpkin cheesecake bars without gelatin by relying on two things: full fat cream cheese and properly whipped heavy cream. Beat the cream cheese at room temperature until smooth, with no lumps. That gives the pumpkin cheesecake filling a strong, creamy base.
Then whip the heavy cream with an electric mixer until stiff peaks hold their shape. This step is key. If the cream is under-whipped, the cheesecake filling will be softer. Once ready, fold it into the cream cheese mixture slowly with a rubber spatula so you keep as much air as possible.
Finally, spread the filling with an offset spatula and chill it overnight. That long rest helps the bars firm up enough for slicing. It is a simple method that gives you a light texture, somewhere between pumpkin pie and classic cheesecake, without using cool whip or gelatin.
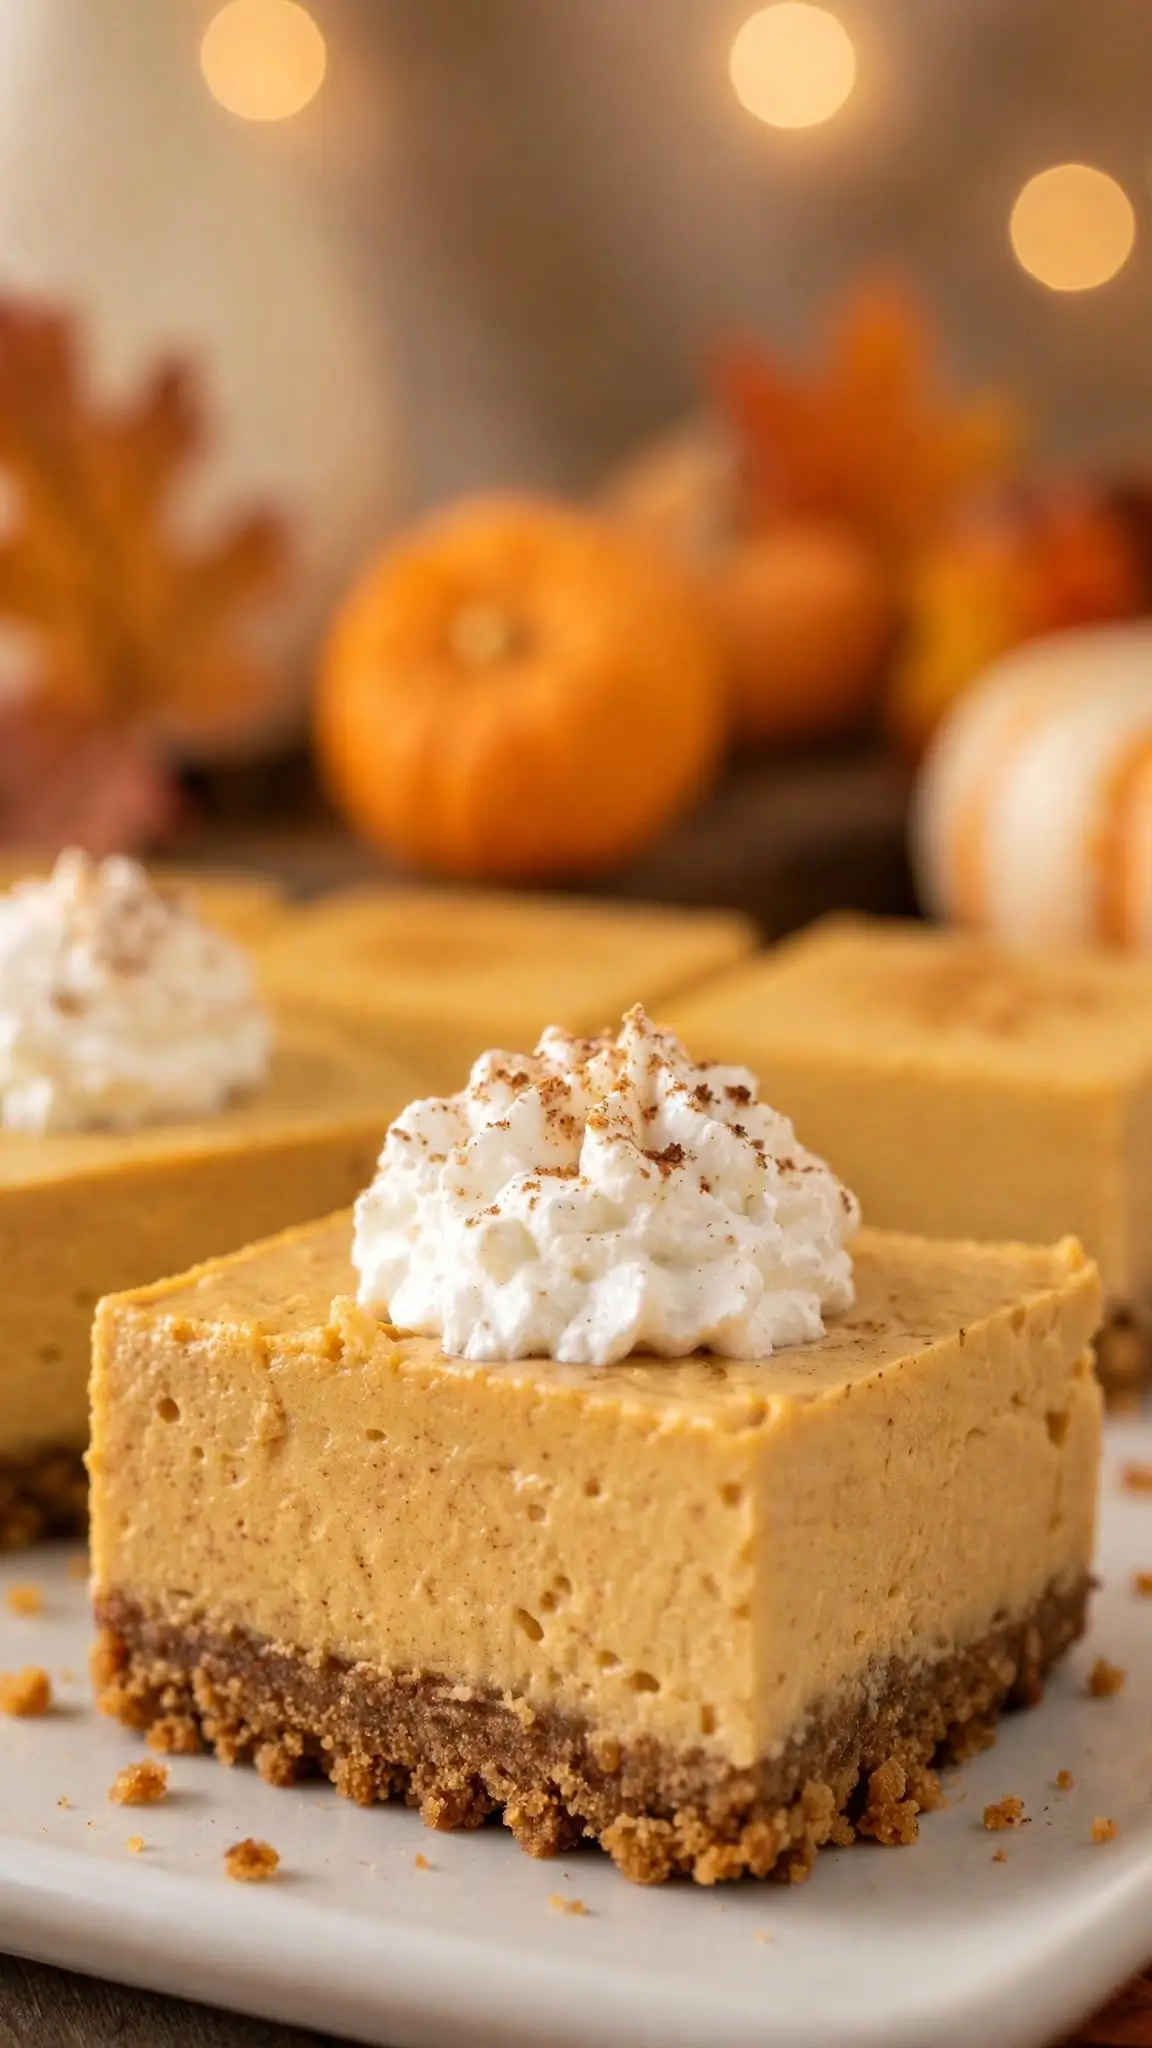
Ingredients
- Graham Cracker Crust
- 2 cups graham cracker crumbs about 15–16 full sheets
- 6 tablespoons unsalted butter melted
- ¼ cup brown sugar packed
- ¼ teaspoon salt
- Pumpkin Cheesecake Filling
- 16 ounces full-fat brick-style cream cheese room temperature
- 1 cup pumpkin puree not pumpkin pie filling
- 1 cup powdered sugar
- 1 teaspoon vanilla extract
- 2 teaspoons pumpkin pie spice
- ½ teaspoon ground cinnamon
- 1 cup cold heavy whipping cream
- Optional Topping
- Whipped cream
- Extra pumpkin pie spice or cinnamon
- Crushed graham crackers or gingersnaps
Instructions
- Line an 8-inch or 9-inch square baking pan with parchment paper, leaving an overhang on two sides for easy removal.
- In a medium bowl, mix graham cracker crumbs, melted butter, brown sugar, and salt until the texture resembles wet sand.
- Press the mixture firmly and evenly into the bottom of the prepared pan using the bottom of a measuring cup. Chill while you make the filling.
- In a large mixing bowl, beat the room-temperature cream cheese with an electric mixer until completely smooth, about 2 minutes.
- Add pumpkin puree, powdered sugar, vanilla, pumpkin pie spice, and cinnamon. Beat until creamy and well combined.
- In a separate cold bowl, whip the heavy cream until stiff peaks form.
- Gently fold the whipped cream into the pumpkin cheesecake mixture with a rubber spatula until no streaks remain.
- Spread the filling evenly over the chilled crust and smooth the top with an offset spatula.
- Cover and refrigerate for at least 6 hours, preferably overnight, until firm enough to slice.
- Lift the bars out using the parchment paper, slice with a sharp knife, and add whipped cream or extra spice before serving.
Notes
Nutrition

Frequently Asked Questions
Keep pumpkin cheesecake bars in the refrigerator, covered with plastic wrap or in an airtight container, for up to 5 days. For neat slices, lift them from the prepared pan using parchment paper, then cut with a sharp knife and wipe the blade clean between each bar.